NATA 2024 CRASH BATCH STARTING FROM 24th March 2024
JEE B.ARCH SECOND SESSION CRASH BATCH OFFLINE STARTING FROM 24th March 2024
Latest News
+91 755 90 22 666
ignitethrissur@gmail.com
Enquiry
Home
About
Our Branches
Ernakulam
Trivandrum
Malappuram
Kannur
Courses
NATA
JEE ARCH
NID
UCEED
NIFT
NATA KEAM
B.Tech Tuitions
Plus Two Tution
LET Coaching
Diploma Tuition
Technical PSC Coaching
Artificial Intelligence
NCHM
Media
News
Events
Gallery
Blog
Careers
Contact
Home
About
Our Branches
Ernakulam
Trivandrum
Malappuram
Kannur
Courses
NATA
JEE ARCH
NID
UCEED
NIFT
NATA KEAM
B.Tech Tuitions
Plus Two Tution
LET Coaching
Diploma Tuition
Technical PSC Coaching
Artificial Intelligence
NCHM
Media
News
Events
Gallery
Blog
Careers
Contact
Home
Blog
Blog
Oct 13
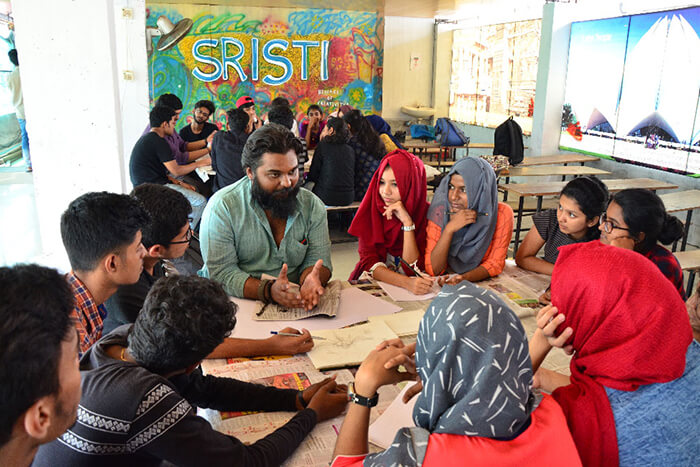
SRISTI - 2019
On October 13th, 2019, we launched the third iteration of our highly successful workshop program SRISTI-3 at our institution.
Read More
April 13
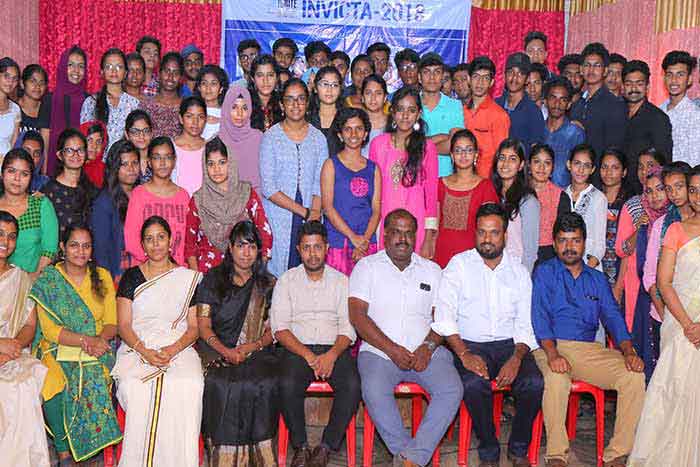
INVICTA - 2018
Invicta is an award ceremony ,we felicitate students who achieved high score in nata 2018 exam
Read More
2017
INVICTA - 2017
Invicta is an award ceremony ,we felicitate students who achieved high score in nata 2017 exam.
Read More
April 13
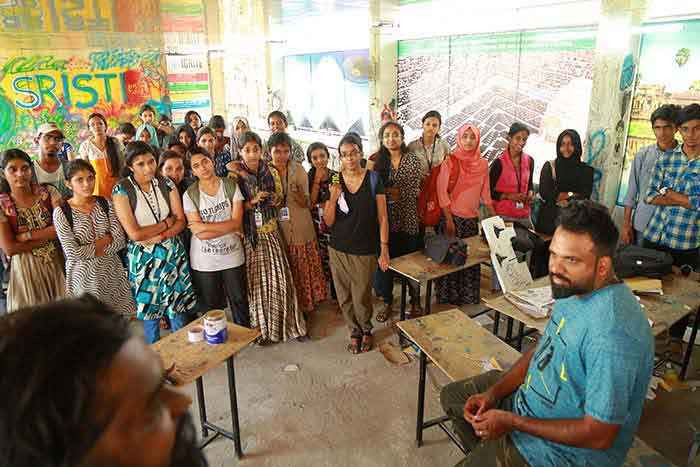
SRISTI - 2018
Sristi VERSION 2.1 was organised as new and featured version of Sristi 2017. A one day event held on April 13,2018 at Ignite, Thrissur
Read More
Sep 17
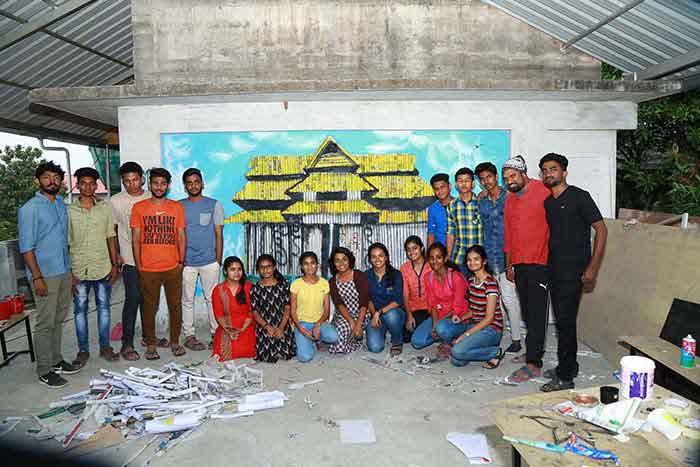
SRISTI - 2017
We launched Sristi 2017 on September 17, Sunday at Ignite, Thrissur. Sristi is a one day event conducted for the holistic development of our students.
Read More
Enquiry Form
×
Select course
NATA
JEE ARCH
NID
UCEED
NIFT
NATA KEAM
Btech Tution
Plus Two Tution
LET Coaching
Diploma Tuition
Technical PSC Coaching
Artificial Intelligence
Send